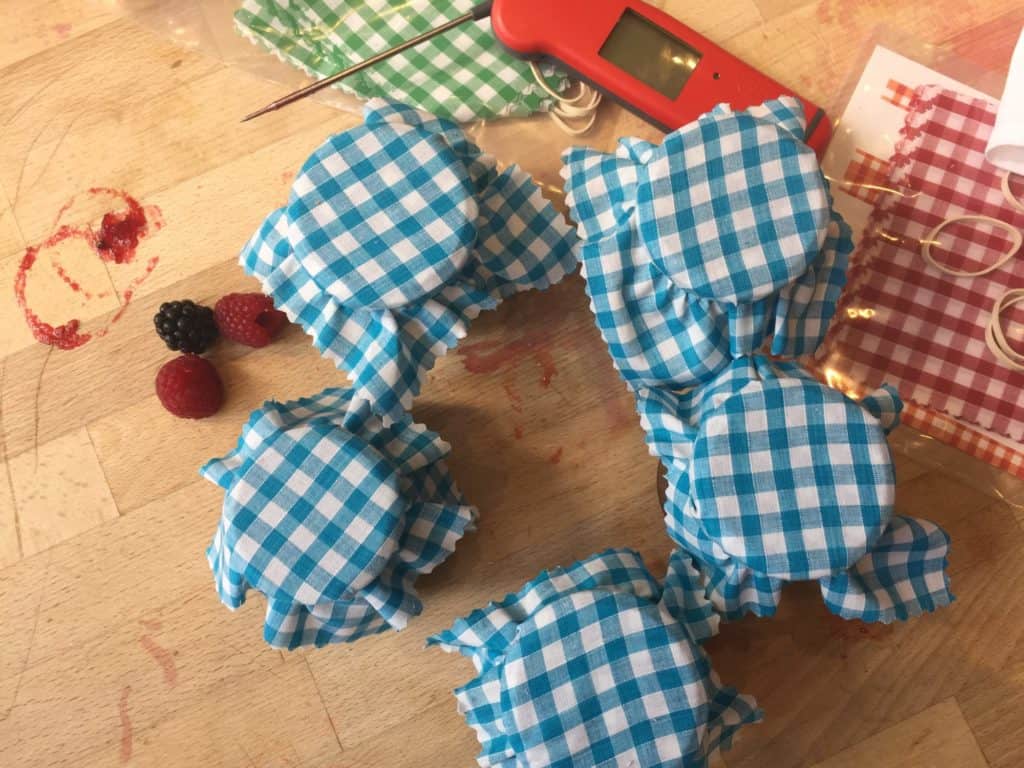
These easy to follow tips for making the perfect jam, will have you making jam in no time.

These Tips for Making the Perfect Jam come courtesy of a workshop, by Mary Cadogan, that I attended in 2017.
Once you have read through all the tips, this Basic Jam Recipe will help get you started with Jam making.
What you need to know to make the Perfect Jam.
Choose the right sugar for your fruit. For high-pectin fruits, like apples, pears, plums and oranges, you’ll only need ordinary granulated sugar or preserving sugar which has quick dissolving crystals. For low-pectin fruits, however, such as cherries, grapes and strawberries, you need to use proper jam sugar, which has added pectin. Using the appropriate sugar will not only ensure a better set, but it will cook more quickly to capture all the fruity flavour.
Use a wide pan with a thick base. Using the right kind of pan will help your jam cook more evenly, allowing more area for the mixture to bubble and evaporate. It’s crucial to continue stirring the jam while cooking it in order to stop it catching on the bottom of the pan. It can also be very helpful to use a jam funnel, which helps you get the jam into jars without spills.
Pick under-ripe fruit. It’s a misconception that you can use squishy, out of date fruit for making jam. Once fruit becomes over ripe, it loses much of the acid that is essential for making a great jam.
Cut the sugar. Traditional recipes use equal quantities of sugar and fruit. But I have found you can afford to reduce the sugar to allow the fruity flavours to shine through. A rough guideline would be for every kilogram of fruit, you’d need 750 grams of sugar. Keeping the sugar down will also give you a softer set.
Cook in small batches. While cooking huge batches of your trademark flavoured jam may feel productive, nobody wants the inevitable, 20 jars of forgotten jam at the back of the cupboard. Cook your jam in small batches, maybe a few small jars at a time, experimenting with different flavours. This will ultimately make each batch feel that bit more special and you will feel freer to experiment with flavour combinations.
Invest in a good thermometer. Taking out the guesswork will make cooking jam so much easier. Getting your jam to the perfect temperature to set is crucial so it’s good to invest in an accurate, easy to use digital thermometer.
Pimp the flavour. There is a myriad of options and combinations when it comes to jam flavouring. Loganberry with star anise. Rhubarb and ginger. White peach and raspberry. Rosemary, pepper. Cardamom; the list goes on. Using garden herbs, spices and whatever other flavours come to mind will give your jam that personal touch that separates it from anything you can find at the supermarket.
Use fruit in season for the best flavour. Keep your eye on the market stalls and go fruit picking to get the best fruit available. Hand picking the fruit that goes into your jam really adds to the whole feel-good experience.
Don’t forget the acid. Controlling pH levels by adding acid in the form of lemon juice is vital for getting your jam to set well in addition to preventing the jam from going off while in the jar.
Prepare the jars. Sterilising your jam jars is vital, either put them in the dishwasher on high heat with no detergent or rinse and put them in the oven at 160 degrees (gas mark 3) for ten minutes. Don’t forget to label your jars with the date and flavour for future reference. Make sure to cool your jam for 15 minutes before potting it to ensure the fruit is evenly distributed through the jar.
Things that can go wrong with jam making.
The set is the deciding moment. If jam is overcooked, it will be too stiff and dark, often with a caramelised flavour. If you like that sort of set, fine. But not if the caramelisation is so strong that it tastes burnt. If it's undercooked, it'll be too runny and won't set. No-one wants a runny jam.
If you're not able to get hold of a suitable thermometer there are other ways in which you can test if the jam is at the critical setting stage.
- Dip a large wooden spoon in your jam. Jam can be very hot so take care when doing this. Twist it several times to cool the jam a little and then check the consistency of the drips of jam that come off the side of the spoon. Ideally, the jam should come together to form larger drops, rather than lots of small droplets.
- Alternatively, place a couple of saucers in the freezer beforehand, and then pour a small amount of your jam onto the saucer. Let it stand for a minute before gently pushing the jam with your finger if the jam wrinkles then it has set.


Comments
No Comments