Use this simple Master Scone Recipe as a base for all your scone recipes. Simply remove the sugar to make plain scones.
A Traditional Simple Sweet Scones recipe that is light, fluffy and well risen. The hardest thing you will have to do is decide which comes first, cream or jam? Why not make this Easy Homemade Strawberry Jam to serve with them!
The Cornish way of serving a scone is to cut it in half, spread each half with strawberry jam then add a dollop of clotted cream.
The Devon way of serving a scone is the opposite. Spread with Clotted Cream before adding the jam.
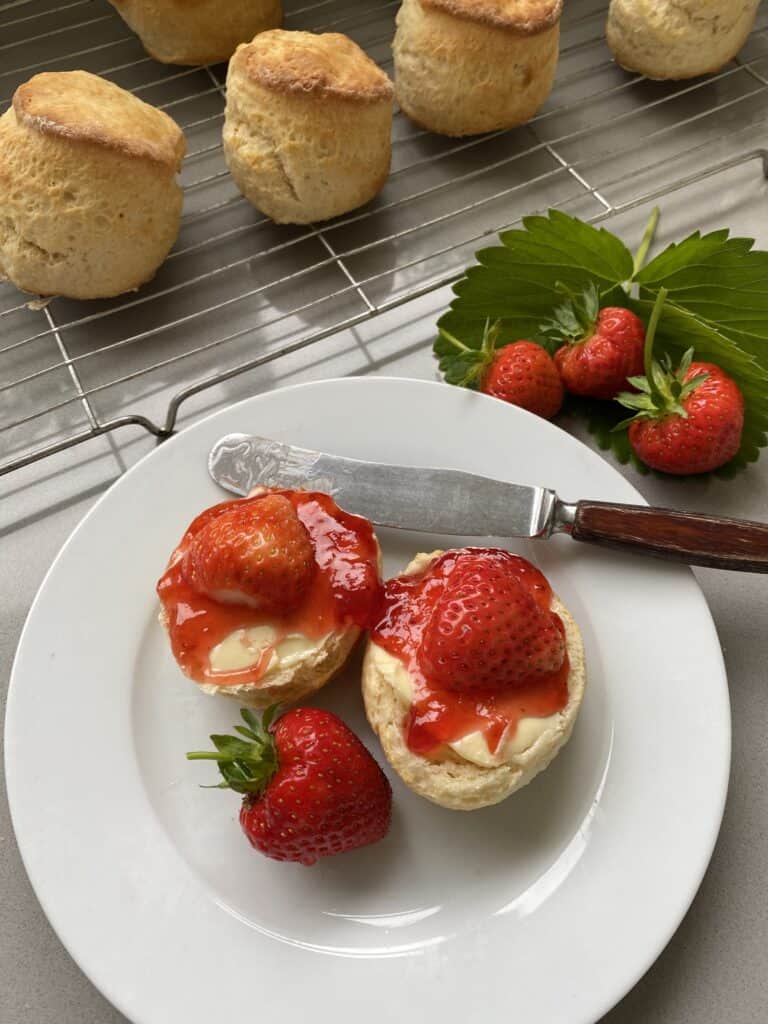
I like to think there's another way, the Yorkshire way. Cut in half, spread with butter and dollop each half with jam. Ideally, scones should be served fresh on the day they are made and still warm from the oven.
This easy scone recipe is adapted from one of Leith's Cookery School Online Courses that I took. I have adjusted their plain scones recipe to suit my tastes and method. I have included step by step instructions which I suggest you familiarise yourself with before you start.
List of Ingredients for a Simple Scone Recipe
A full list of ingredients, quantities and method can also be found on the recipe card below, which you can print off and keep.
Flour - For this recipe, I used Self Raising Flour which contains a raising agent. There is no substitute for this unless you use Plain Flour with the addition of a raising agent such as baking powder.
Butter - Unsalted and must be fridge cold. I prefer to use butter rather than margarine in most, if not all, of my recipes.
Sugar - Caster sugar is best because it is finer than larger granulated sugar, which may cause large brown specks on your scones after baking.
Salt - Table salt is fine or finely crushed sea salt.
Milk/Buttermilk - Use either. I used a mix of whole milk and buttermilk. Using up what I had in my fridge. You may not need to use it all, but there is a chance you may need to add a little more. It all depends on your flour. Don't add too much. You don't want a wet and sticky dough.

How to Make Scones Step by Step
To make these Plain Sweet Scones, start by Preheating the oven to 200°C (Fan assisted oven). Have ready a smooth-sided 5-6cm pastry/scone cutter and a baking sheet dusted with a little flour. This will help prevent the dough from sticking to the baking tray. Have all your other ingredients weighed out correctly and ready to use.
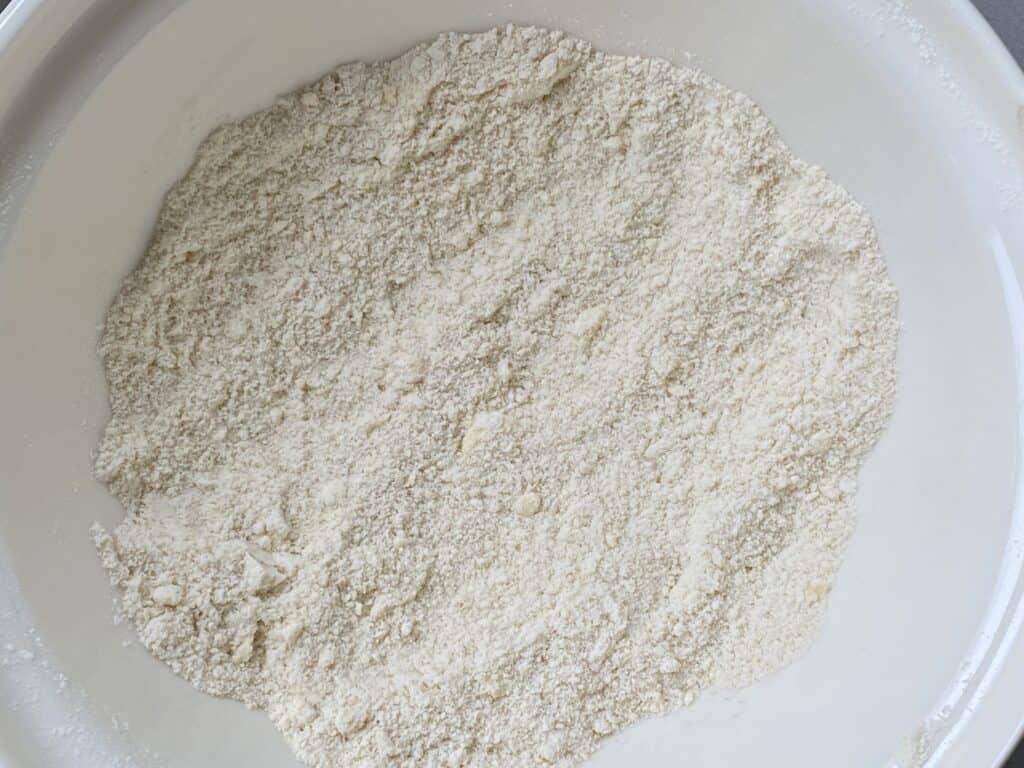
Place the sieved flour, sugar and salt into a large bowl. Using your fingertips, rub the cubes of butter with the flour until the whole mixture resembles coarse breadcrumbs. Break up any remaining large clumps of butter.

Make a well in the centre. Pour in three quarters of the milk and using a cutlery knife, quickly stir the crumbs until the dough starts to come together. Add a little more milk if the dough is too dry or you see an abundance of excess crumbs in your bowl. But don’t add too much as heavy, dense scones are often caused by dough that is too wet and sticky.

Using your hands, briefly bring the dough together but don’t overwork it as this can make the scones tough. You should have a dough that is soft and spongy.
Cutting Out the Dough
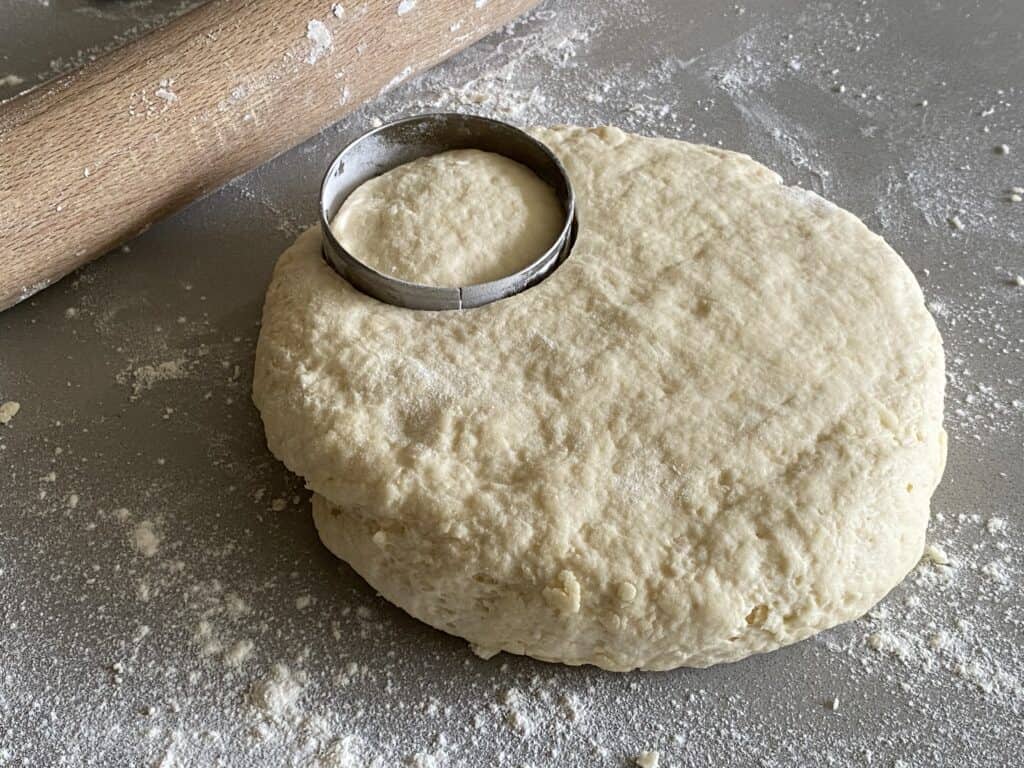
Place the dough on a lightly floured surface and roll out to an even thickness no more than 2.5cm. Using a plain sided, non rippled, pastry cutter (see the image above) measuring 5–6cm dipped in flour, cut out as many scones as you can out of the dough. See my notes below about getting an even rise. Place each cut scone on the prepared baking sheet.
To cut out more scones, carefully and without squashing it, bring the cut dough back together. These may not bake quite as soft and fluffy as the first rolled batch, so try to avoid any overhandling at this stage. Roll up the last bit of dough to make a smaller scone. Cooks perks.
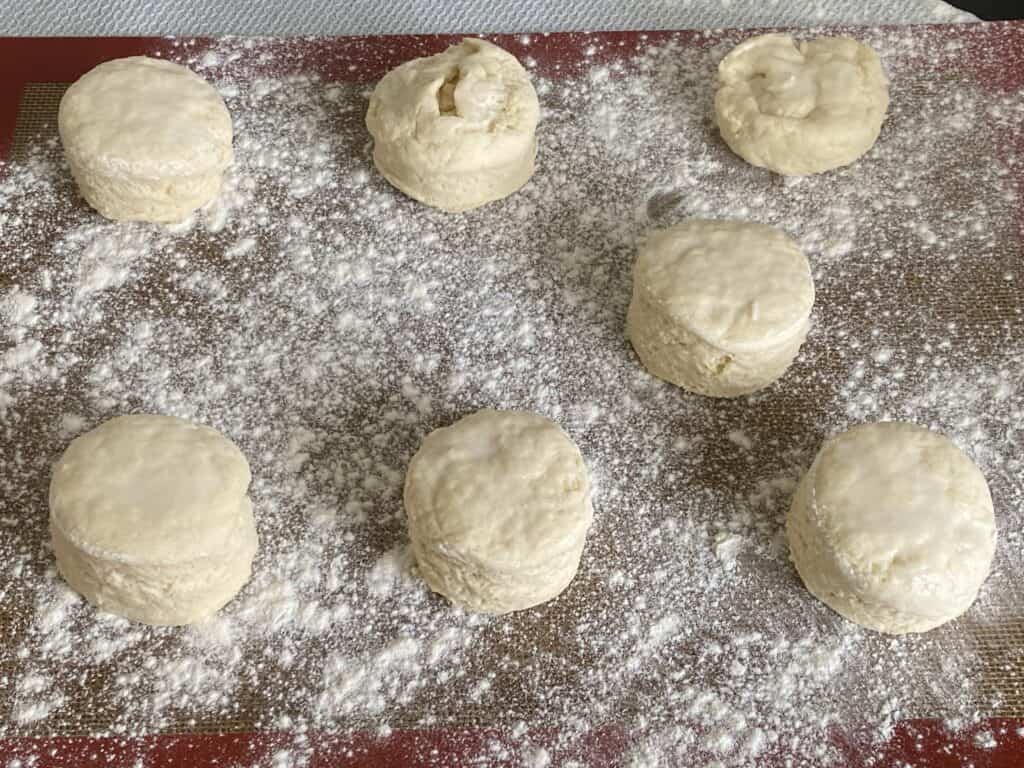
Brush with milk or a beaten egg for a golden finish. Making sure non of the milk or egg drips over the sides, as this can also prevent your scones from rising. Alternatively, sprinkle with a light dusting of flour. I brushed mine with milk.
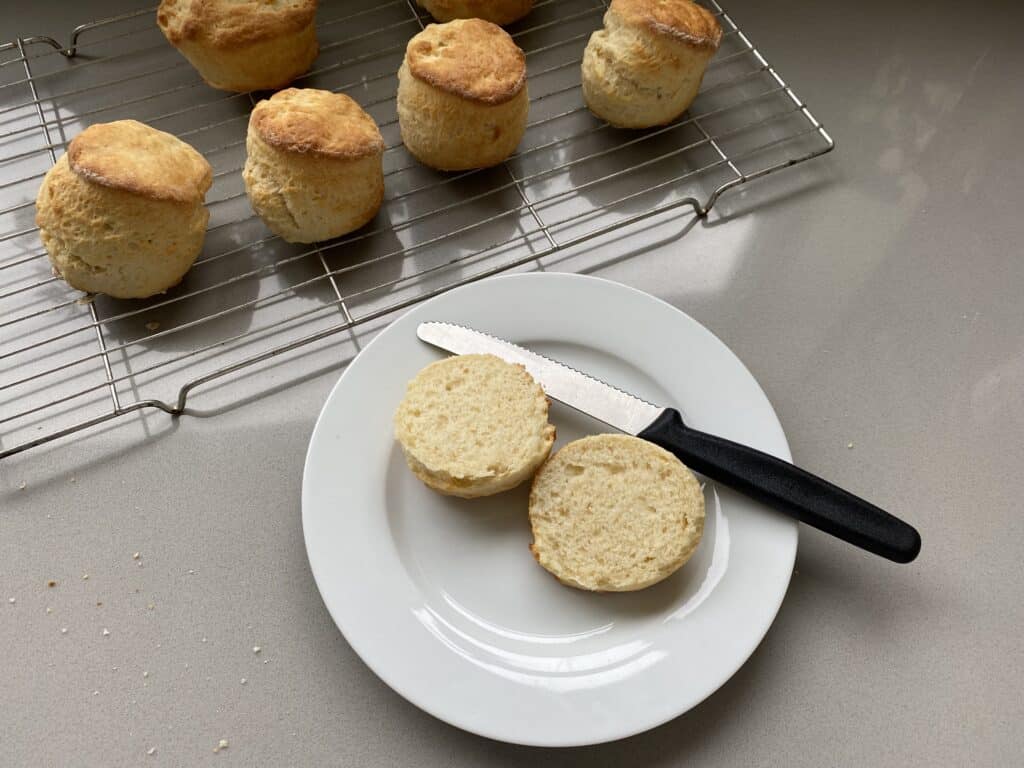
Bake on the middle self in the oven for 10 – 12 minutes, or until the scones are baked, well risen and golden brown on top. They should also be golden brown underneath. Transfer the scones to a wire rack and allow them to cool a little before serving. Eat them fresh while still warm.
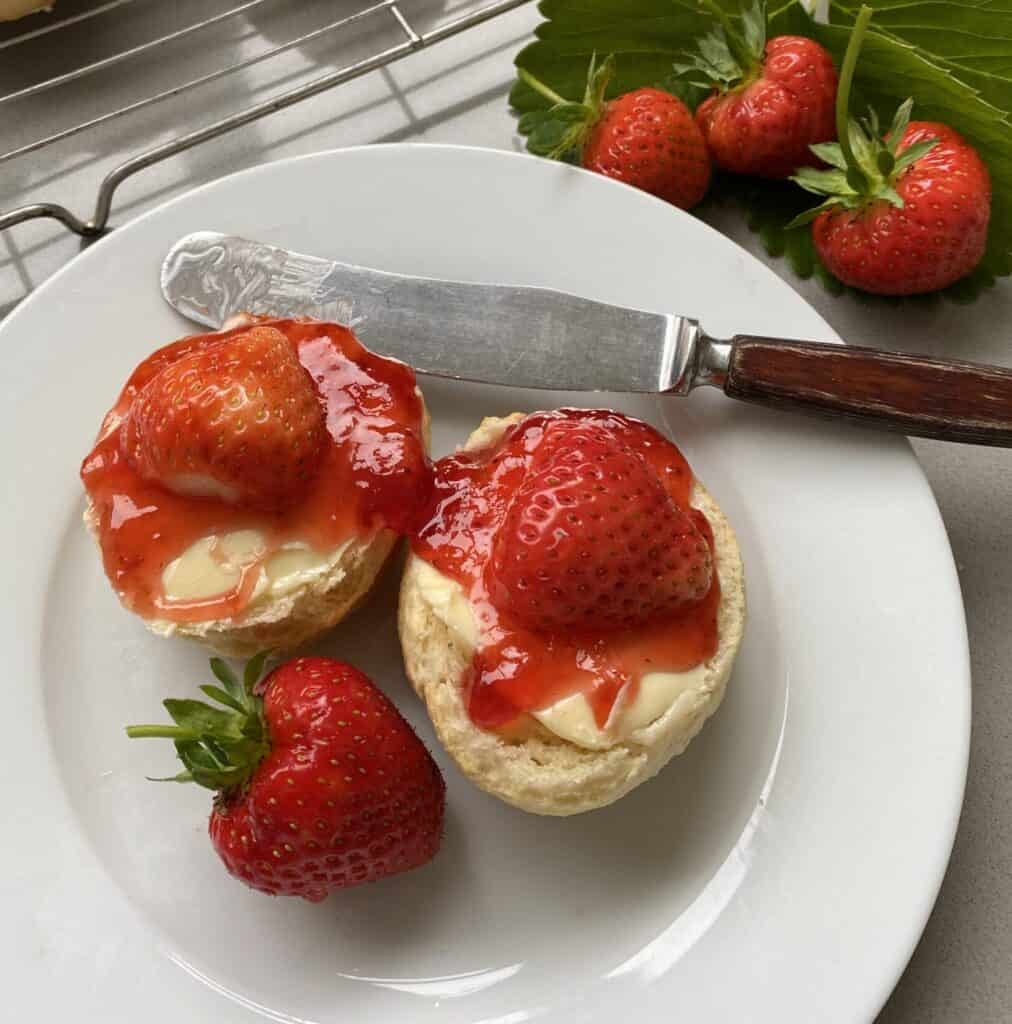
Whether you choose to serve your sweet scones the Cornish Way - Jam first, or the Devon Way - cream first, they will taste delicious. When I don't have any cream in my fridge, I like to eat mine with softened butter and either strawberry or raspberry jam.
More Easy Scone Recipes
- Treacle and Ginger Scones - Popular around Bonfire night
- Cheese and Herb Scones - Ideal for Lunch time.
- Buttermilk and Honey Scones - Great served with butter and slices of banana.
- Blueberry and Lemon Scones - Using with Blueberry juice
- Easy Vanilla Buttermilk Scones - Made in a round.
- Lemon Glazed Blueberry Scones - Also made in the round.
- Chocolate Chip Scones with Buttermilk - A great recipe to make with young children
Tips and Faq's for Making Sweet Scones
- Baking times will differ, depending on the size and thickness of your scones. And of course your oven. Check them after they are three quarters baked. They should be cooked on the side and have an all round golden colour.
- To ensure an even rise, cut firmly with the smooth sided pastry cutter and avoid twisting the cutter as you release the dough.
- Dusting the inside of the cutter with flour on each occasion will help release the dough more easily.
Use fridge cold butter. Don't overhandle the scone dough. Don't twist the pastry cutter when you cut the scone dough. Simply cut and lift.
The rise comes from the raising agent in the flour and the way you cut the dough with the pastry cutter. Don't overhandle the dough once you have brought it all together.
Heavy, dense and hard scones are often caused by dough that is too wet, sticky and overhandled.

Master Scone Recipe (Simple Sweet Scones)
INGREDIENTS
- 225 g self-raising flour sieved plus extra for dusting
- ¼ teaspoon salt
- 60 g butter unsalted fridge cold cut into small cubes
- 25 g caster sugar omit if making plain scones
- 150 ml milk or buttermilk or a mix of both if needed. You may not need to use it all.
- 1 tablespoon milk optional for brusing the top of the scones
To Serve
- Whipped/Clotted Cream or butter
- Strawberry or Raspberry jam
Instructions
- Pre- heat the oven to 200°C Fan assisted oven. Have ready a baking sheet dusted with a little flour. This will help prevent the scones from sticking to the baking tray.
- Place the sieved flour, sugar and salt into a large bowl. Using your finger tips, rub the cubes of butter with the flour until the whole mixture resembles coarse breadcrumbs.
- Make a well in the centre. Pour in three quarters of the milk and using a cutlery knife, quickly stir the crumbs until the dough starts to come together. Add a little more milk if the dough is too dry or you see an abundance of excess crumbs in your bowl. But don’t add too much as heavy, dense scones are often caused by dough that is too wet and sticky.
- Using your hands, briefly bring the dough together but don’t overwork it as this can make the scones tough. You should have a dough that is soft and spongy.
- Place the dough on a lightly floured surface and roll out to an even thickness no more than 2.5cm. The thickness of the dough will also determine the baking times.
- Using a plain sided, non rippled, pastry cutter measuring 5–6cm dipped in flour, cut out as many scones as you can out of the dough. See my notes below about getting an even rise. Place each cut scone on the prepared baking sheet.
- Carefully and without squashing or over handling it, bring the cut dough back together again before cutting out more scones. Note. These may not rise as well or be as soft as the first batch.
- Brush with milk or a beaten egg for a golden finish. Making sure non of the milk or egg drips over the sides, as this can also prevent your scones from rising. Alternatively, sprinkle with a light dusting of flour. I brushed mine with milk.
- Bake on the middle self in the oven for 10 – 12 minutes, or until the scones are baked, well risen and golden brown on top.
- They should also be golden brown underneath. Transfer the scones to a wire rack and allow them to cool a little before serving. Eat them fresh while still warm.
- Serve with whipped/clotted cream or butter and jam.


Comments
No Comments