These easy to make, Vanilla Buttermilk Scones will become the basic, go to recipe, for all your scone making. Easily adapted to add other flavour combinations and ingredients, from grated cheese to fresh berries.
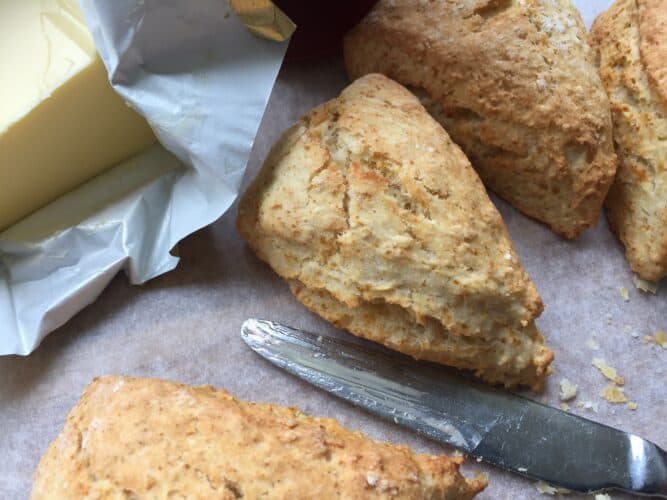
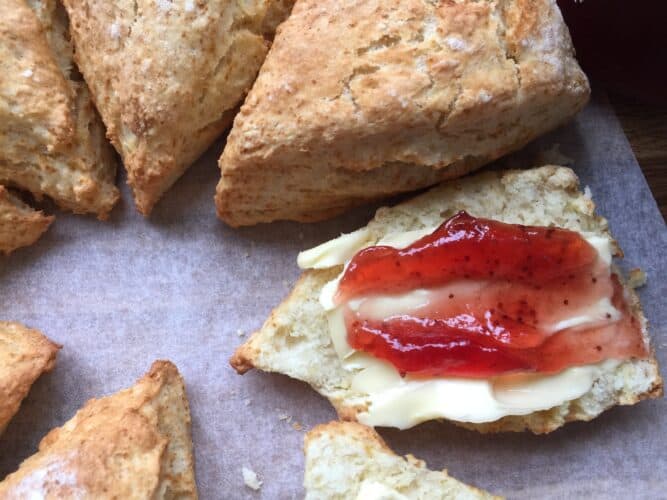
 There's a few things you need to know about freshly made scones. Generally speaking, they are best eaten the day they are made. However, I've found when using buttermilk as an ingredient, they stay light and fluffy for a little longer. Perhaps a day or two. Although in our house, they rarely last beyond the next day. They are so delicious. I love these Simple Sweet Scones on my other website Kitchen Recipes Cook Eat and often have them with cream, butter or jam.
How to make Vanilla Buttermilk Scones.
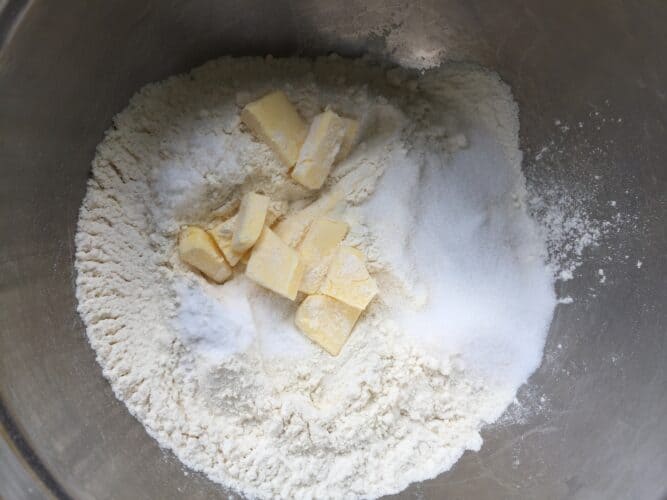

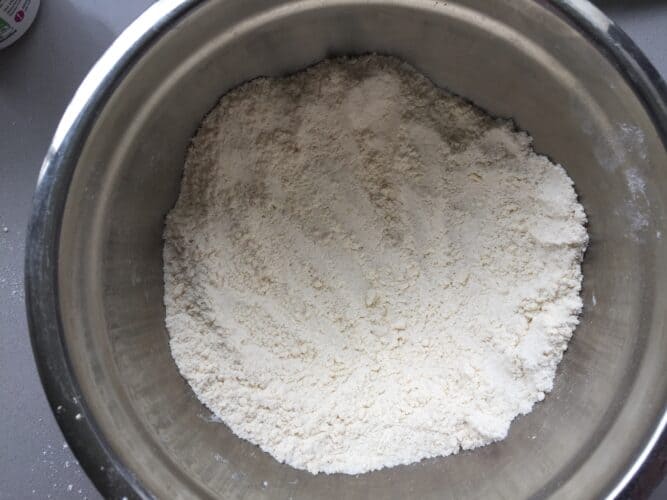
Once you have your oven lit, and your baking tray ready. Place the sieved flour, bicarbonate of soda, sugar, salt and butter into a mixing bowl. Using your finger tips, rub everything together until there’s no sign of butter left. You should have a fine breadcrumb consistency.
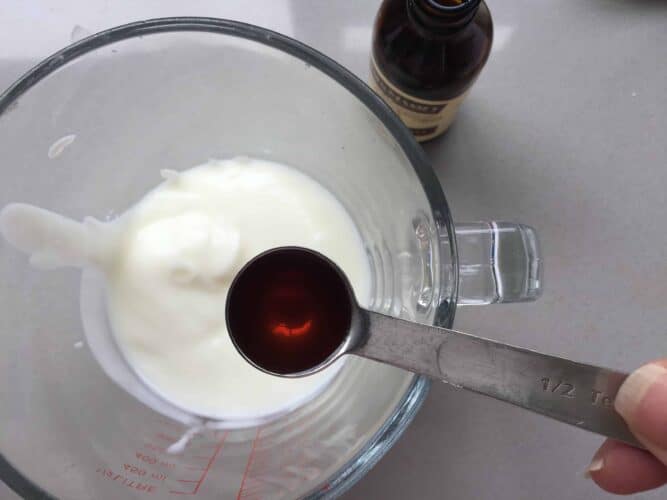
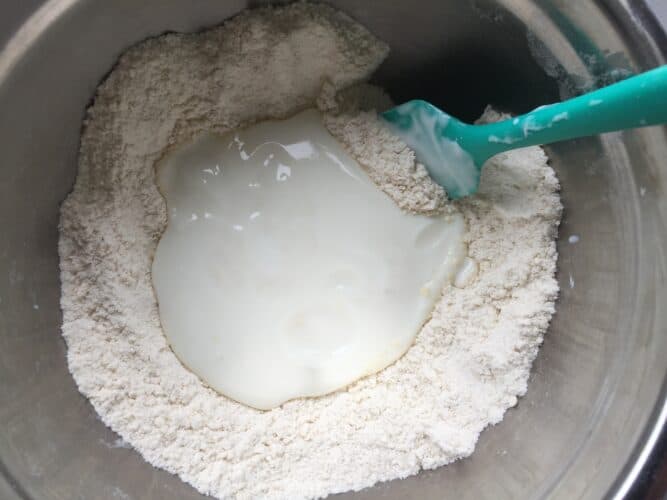
Add the Vanilla Extract to the buttermilk and give it a good mix. This helps to distribute the vanilla flavour evenly. Make a well in the centre of the flour mixture and add the buttermilk. Using a large spoon or spatula start to bring everything together.
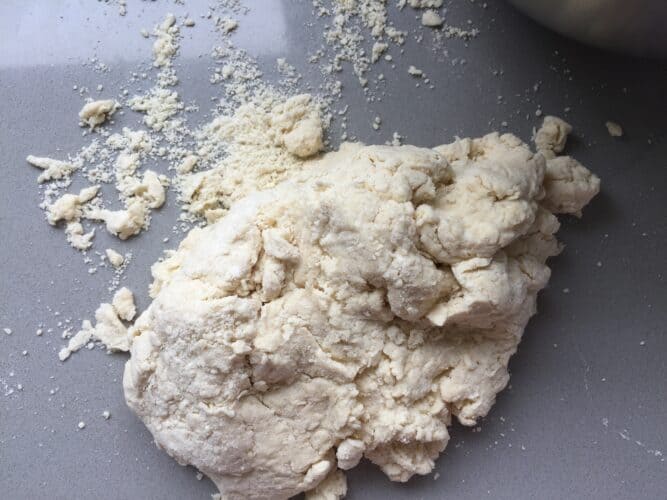
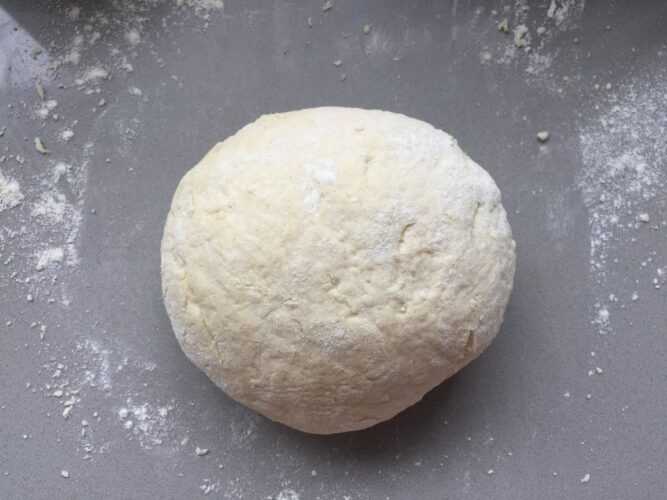
Turn the dough, including any residual crumbs at the bottom of the bowl, out onto a lightly floured surface. Kneed the dough a little, to bring it all together into a soft smooth dough that is not too sticky. Do not over kneed or you will stretch the gluten.
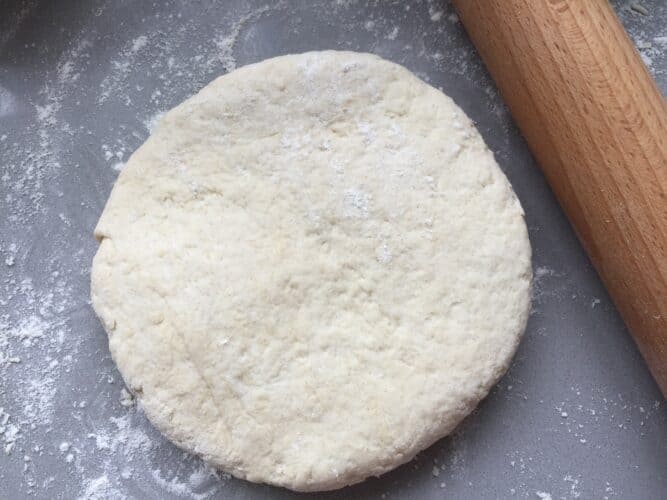
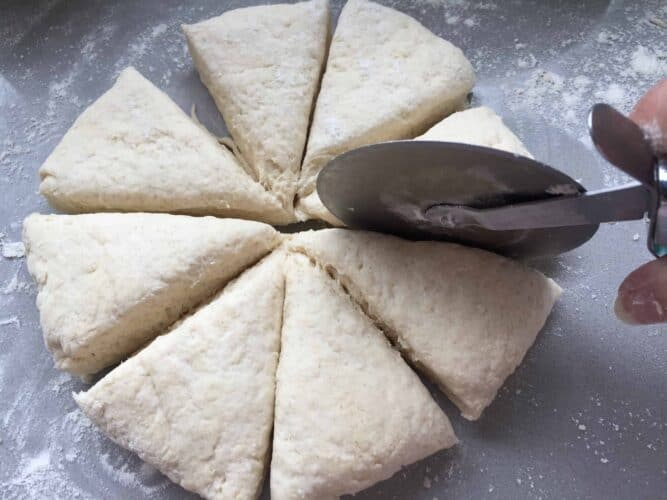
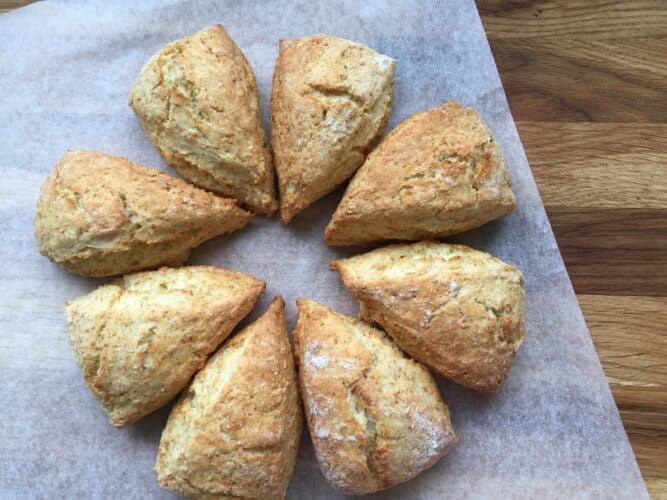
Lightly dust a rolling pin with flour and roll out to a thickness of about 2cm. Cut into 8 portions. This is made easier by using a Pizza cutter.
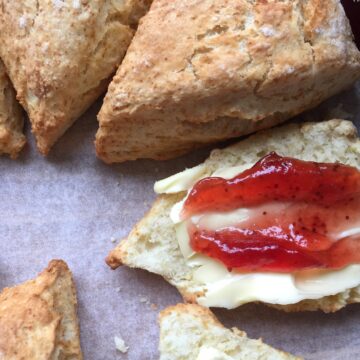
If you prefer your scones round. Use a cutter. Dust the inside with flour each time you cut, as the sticky dough will start the clog the inside of your cutter. Bring the remaining dough together and cut more rounds. I prefer this basic triangle shape, much preferred by American and Canadian bakers. As it saves time and you don't overwork the dough.
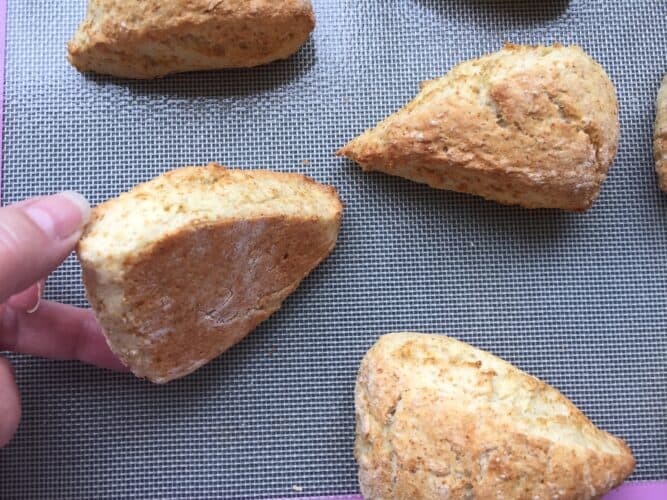
Place each portion, onto the prepared baking sheet. Making sure there is plenty of space for them to bake and not stick together. Bake in the centre of the oven for 15 mins or until baked and golden looking.
Notes:
- When a scone recipe calls for bicarbonate of soda, you need an acid to activate it which makes your scones rise. You'll find more info about Baking Powder v Baking Soda over at Sally's Baking Addiction website.
- Don't overwork the dough. You'll stretch the gluten and make the scones tough.
- The dough will feel a little sticky. So don't be tempted to keep adding additional flour to make it smooth. Just knead the dough enough to bring it all together.
- Best eaten on the day they are made. But will keep another day if needed.
Now that you've mastered this basic recipe, you may also like to try these Lemon Glazed Blueberry Scones.
If you've tried these Vanilla Buttermilk Scones, please let me know how you got on by leaving a comment below and a rating. Let me know what different flavours you've made and how you make your scones.
Vanilla Buttermilk Scones
INGREDIENTS
- 250 g plain flour sieved
- ½ teaspoons bicarbonate of soda sieved
- ¼ teaspoons salt
- 25 g butter chilled and cut into cubs
- 1 tablespoon caster sugar
- 1 teaspoons vanilla extract
- 180 g – 200g buttermilk
Instructions
- Preheat the oven to 190g fan assisted
- Line a baking tray with baking parchment or a silicone sheet.
- Place the sieved flour, bicarbonate of soda, sugar, salt and butter into a mixing bowl. Using your finger tips, rub everything together until there’s no sign of butter left. You should have a fine breadcrumb consistency.
- Add the Vanilla Extract to the buttermilk and give it a good mix. This helps to distribute the vanilla flavour evenly.
- Make a well in the centre of the flour mixture and add the buttermilk. Using a large spoon or spatula start to bring everything together.
- Turn the dough, including any residual crumbs at the bottom of the bowl, out onto a lightly floured surface. Kneed the dough a little, to bring it all together into a soft smooth dough that is not too sticky. Do not over kneed or you will stretch the gluten.
- Lightly dust a rolling pin with flour and roll out to a thickness of about 2cm. Cut into 8 portions. This is made easier by using a Pizza cutter.
- If you prefer your scones round. Use a cutter. Dust the inside with flour each time you cut, as the sticky dough will start the clog the inside of your cutter. Bring the remaining dough together and cut more rounds. I prefer this basic triangle shape, much preferred by American and Canadian bakers. As it saves time and you don’t overwork the dough.
- Place each portion, onto the prepared baking sheet. Making sure there is plenty of space for them to bake and not stick together.
- Bake in the centre of the oven for 15 mins or until baked and golden looking.
Comments
No Comments