Three layers of chocolate sponge soaked in cherry brandy then filled and topped with Vanilla buttercream, cherry compote/conserve and fresh cherries, make this Cherry Black Forest Cake the perfect dessert for any occasion.

A passing comment by one of my readers after sharing this White Chocolate Mocha Cake recipe in my Facebook group, suggested I make a Black Forest Gateau. Although not an authentic recipe by any means, the flavours and appearance hit the spot. I also wanted to decorate the cake with homemade Chocolate Shards
This cake is worthy of a special place on the buffet or dinner party table and would be great as an alternative Christmas dessert.
How to Make a Cherry Black Forest Cake
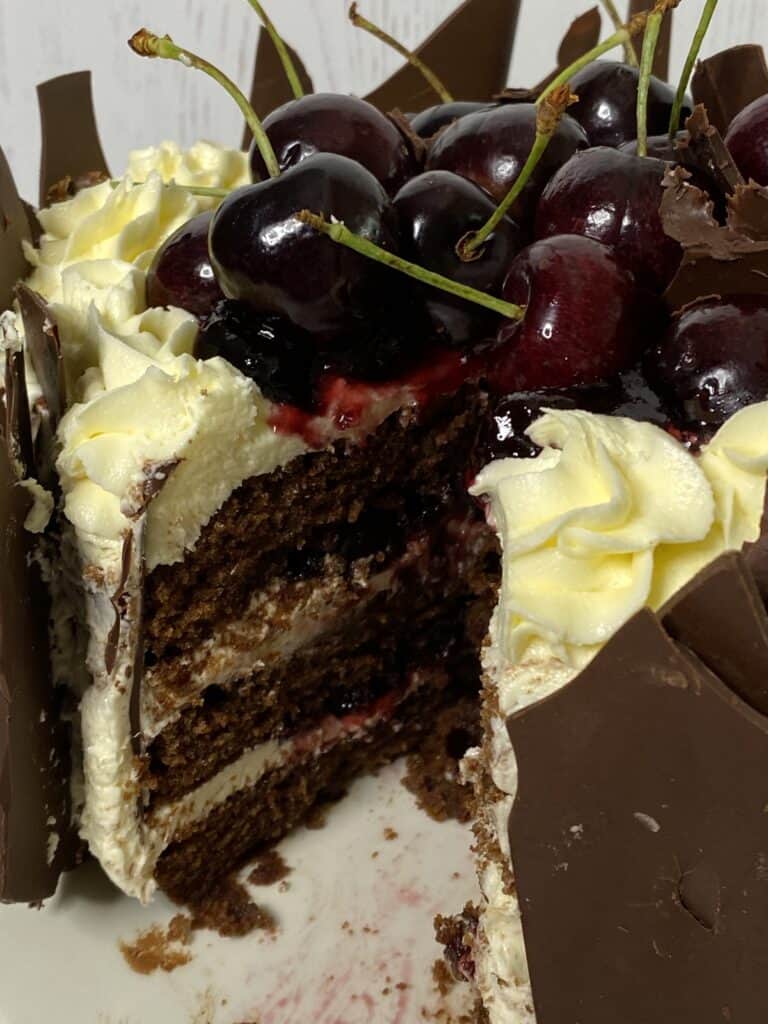
There are quite a number of components to making this cake. So please read through the recipe first to make sure you have all the ingredients and equipment.
You will need to make the chocolate shards first. You can use my step by step instructions on How to Make Chocolate Shards or if you feel confident this is the simple version.
- Melt the chocolate in a bain marie
- Spread the chocolate out onto some baking parchement.
- Rollup the baking parchment, secure the ends with paper clips
- Place the roll of chocolate in the fridge to set.
Make the Chocolate Cake Batter
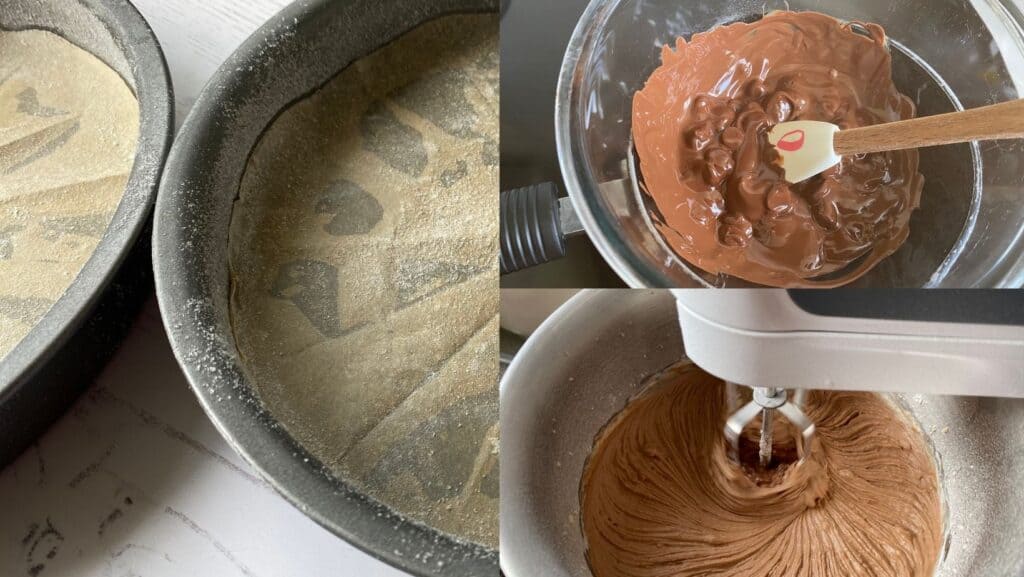
While the Chocolate Shards are setting in the fridge, start to make the rest of the Black Forest Cake. Pre-heat the oven to 180°C/160°C fan. Grease and line 3 x 19 cm round loose-bottomed cake tins. If you are using baking bands, now is the time to soak them in a bowl of water.
If you haven’t already done so, melt the (100g) chocolate, which will be added to the cake batter, in a heatproof dish over a pan of simmering water. Do not allow the bowl to touch the simmering water or it will burn the chocolate. Once melted, take the bowl off the heat and leave it to one side to allow the chocolate to cool but not set.
Using an electric mixer, beat together the butter and sugar until light and fluffy. Gradually add the beaten eggs a little at a time, if you feel the mixture is beginning to curdle, add a little of the flour.
When all the eggs have been added, add the vanilla extract, the cooled melted chocolate, sieved cocoa powder, coffee powder, flour and bicarbonate of soda. Mix until well combined. Finally, mix in the buttermilk.
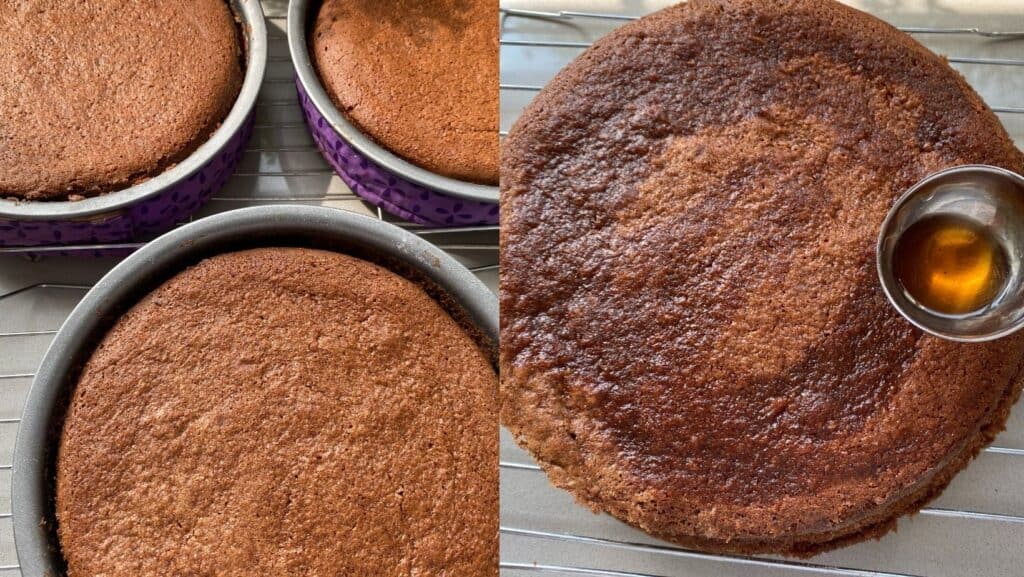
Pour the cake batter evenly into the three prepared cake tins. Bake in the oven for 20-25 minutes or until baked. Testing the centre of the cakes with a cake skewer until it comes out clean. Remove from the oven and leave in the tins to cool for about 10 mins before turning out onto a wire rack to cool completely.
While still warm, pour the cherry brandy over the cakes, about 1 tablespoon per cake, allowing it to soak through.
Make the Vanilla Buttercream Icing
Beat together the butter and the icing sugar until lighter in colour with a fluffy texture. Add the double cream and vanilla extract and mix some more. You should have a very thick pipeable consistency. Place two thirds of the mixture into a piping bag with your favourite star nozzle and leave the rest in the mixing bowl to be used to fill and coat the outside of the cake. Do not place it in the fridge or it will become hard and difficult to pipe and spread on the cake.
Assembling a Cherry Black Forest Cake
Decorate your cake in any way you wish, but this is how I did mine. Stone half of the fresh cherries and slice them in half.
- Step 1. Place one layer of sponge onto a cake stand or large plate.
- Step 2. Pipe the edge of the cake with the buttercream icing. Fill the centre with Cherry Conserve/Compote and add a few of the fresh cherry halves.
- Step 3. Place the second layer on top and repeat the process.
- Leave the remaining buttercream in the piping bag for more decorating later.
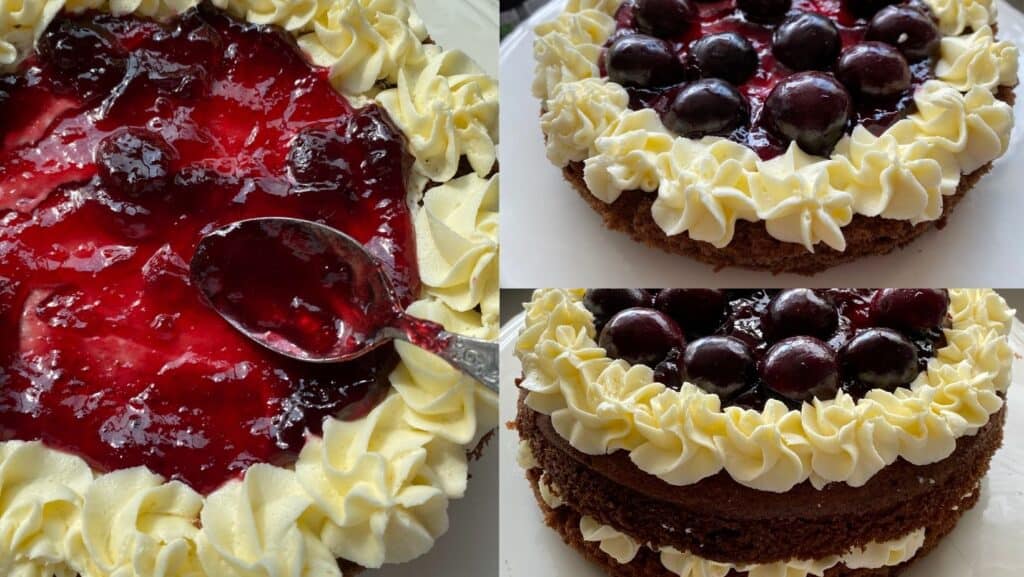
Place the third cake layer on top. Cover the top and sides of the cake with buttercream from your mixing bowl. Pipe more rosettes around the edge of the top and fill the centre with more cherry compose and fresh cherry halves as you did with the first two layers.
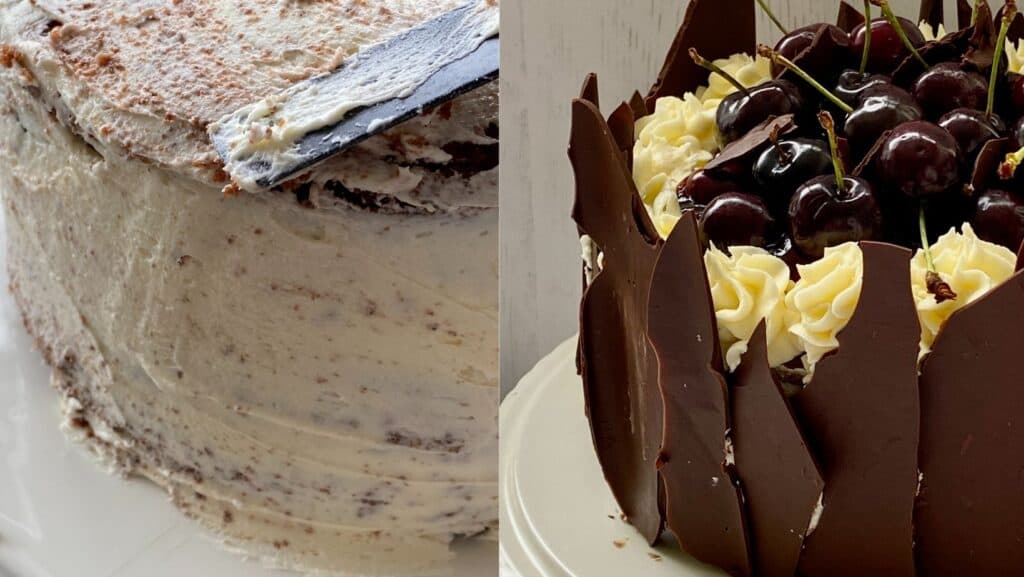
Now start to add your chocolate bark around the sides of the cake. You may need to dab on a little more buttercream to make the shards stick. If your hands are a little too warm and the chocolate begins to melt, use food tongs or tweezers to make the job easier and less messy.
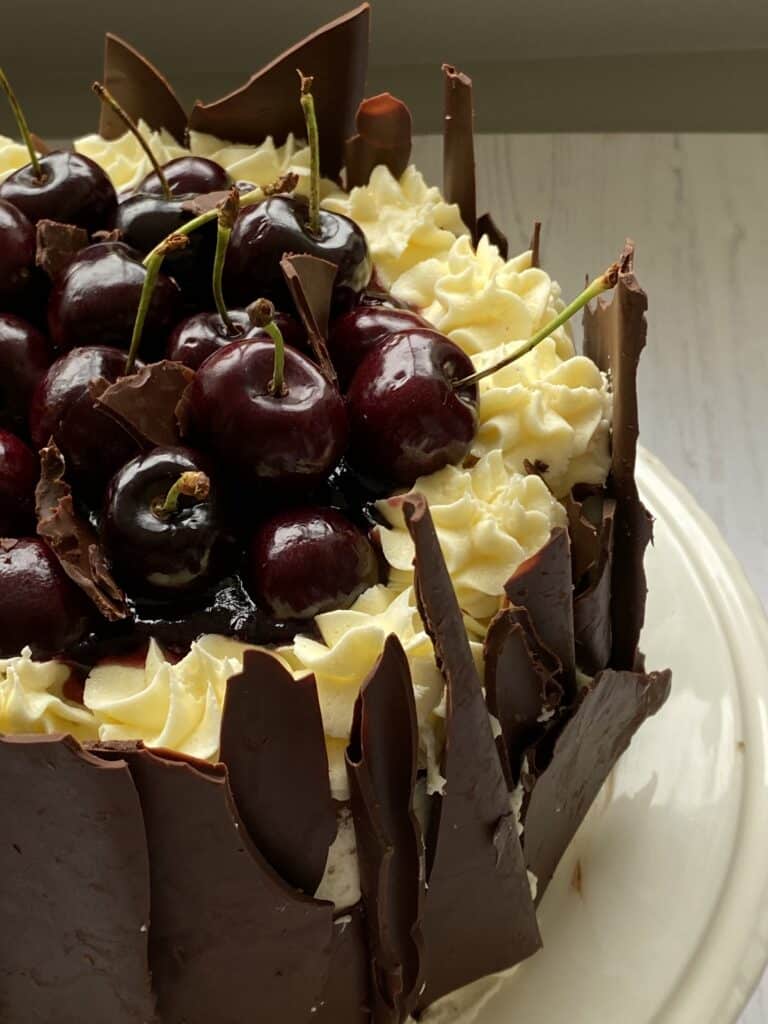
Complete the look with more fresh cherries and pieces of broken chocolate. Remember to decorate this cake in any way you wish.
Storage and Tips
This cake will keep for a couple of days if covered at room temperature. There is no need to keep it in the fridge. If you do, the sponge and buttercream will become very firm and you will need to bring it back to room temperature before serving.
If you don't want to make your own Chocolate Shards for decoration, use the rest of the buttercream to make more of a decorative statement on the sides of the cake. It will still look stunning. Or as one of my readers has suggested, use Vermicelli as a chocolate alternative.
As I say, there are a lot of components to this recipe and having proof read it what seems like a million times, there could be a word or two missing. If you discover anything, please drop me a line, comment below or post in my Facebook Community group and I'll get it sorted straight away.
Cherry Black Forest Cake
Equipment
- 3 x 19cm Loose bottomed cake tins
- Baking Parchment
INGREDIENTS
For the chocolate shards using the recipe link mentioned above
- 250 g milk or dark chocolate
For the chocolate sponge
- 100 g milk or dark chocolate melted
- 175 g unsalted butter softened
- 100 g soft brown sugar
- 100 g golden caster sugar
- 3 medium eggs lightly beaten
- 1 teaspoons vanilla extract
- 200 g self-raising flour sieved
- 1 tablespoons cocoa powder sieved
- 1 tablespoons coffee powder sieved
- ½ teaspoons bicarbonate of soda
- 150 g soured cream
For the filling and decorating
- 250 g unsalted butter softened
- 500 g icing sugar sifted
- 3 tablepsoons double cream
- 1 teaspoons vanilla extract
- 3 tablespoons cherry brandy for soaking the chocolate sponge cakes
- 400 g fresh cherries stone and slice 200g of the cherries in half
- 340 g jar of cherry conserve or cherry compote
Instructions
- You will need to make the chocolate shards first. But to simplify things all you need to do is;
- Melt the chocolate in a bain marie
- Spread the chocolate out onto some baking parchment.
- Rollup the baking parchment, secure the ends with paper clips
- Place the roll of chocolate in the fridge to set.
Make the Chocolate Cake Batter
- While the Chocolate Shards are setting in the fridge, start to make the rest of the Black Forest Cake. Pre-heat the oven to 180°C/160°C fan. Grease and line 3 x 19 cm round loose-bottomed cake tins. If you are using baking bands, now is the time to soak them in a bowl of water.
- If you haven’t already done so, melt the (100g) chocolate, which will be later added to the cake batter, in a heatproof dish over a pan of simmering water. Do not allow the bowl to touch the simmering water or it will burn the chocolate. Once melted, take the bowl off the heat and leave it to one side to allow the chocolate to cool but not set.
- Using an electric mixer, beat together the butter and sugar until light and fluffy. Gradually add the beaten eggs a little at a time, if you feel the mixture is beginning to curdle, add a little of the flour.
- When all the eggs have been added, add the vanilla extract, the cooled melted chocolate, sieved cocoa powder, coffee powder, flour and bicarbonate of soda. Mix until well combined. Finally, mix in the soured cream.
- Pour the cake batter evenly into the three prepared cake tins. Bake in the oven for 20-25 or until baked. Testing the centre of the cakes with a cake skewer until it comes out clean. Remove from the oven and leave in the tins to cool for about 10 mins before turning out onto a wire rack to cool completely.
- While still warm, pour the cherry brandy over the cakes, about 1 tablespoon per cake, allowing it to soak through.
MAKE THE VANILLA BUTTERCREAM ICING
- Beat together the butter and the icing sugar until lighter in colour with a fluffy texture. Add the double cream, vanilla extract and mix some more. You should have a very think pipeable consistency. Place two thirds of the mixture into a piping bag with your favourite star nozzle and leave the rest in the mixing bowl to be used to fill and coat the outside of the cake. Do not place it in the fridge or it will become hard and difficult to pipe and spread on the cake.
ASSEMBLING THE CAKE
- Decorate your cake in any way you wish, but this is how I did mine.
- Step 1. Place one layer of sponge onto a cake stand or large plate.
- Step2. Pipe the edge of the cake with buttercream, fill the centre with Cherry Compote/conserve and add a few of the fresh cherry halves.
- Step 3. Place the second layer on top and repeat the process.
- Leave the remaining buttercream in the piping back for more decorating later.
- Place the third cake layer on top. Cover the top and sides of the cake with buttercream from your mixing bowl. Pipe more rosettes around the edge of the top and fill the centre with more cherry compose as you did with the first two layers.
- Now start to add your chocolate bark around the sides of the cake. You may need to dab on a little more buttercream to make the shards stick. If your hands are a little too warm and the chocolate begins to melt, use food tongs or tweezers to make the job easier and less messy.
- Complete the look with more fresh cherries and pieces of broken chocolate.
Notes
- This cake will keep for a couple of days at room temperature if covered.
- There is no need to keep this cake in the fridge. If you do, the sponge and buttercream will become very firm and you will need to bring it back to room temperature before serving.
- If you don't want to make your own Chocolate Shards for decoration, use the rest of the buttercream on the sides of the cake. It will still look stunning.


Richard plundo
Where’s the recipe for cherry compote?
Lynn
There's isn't actually a recipe for the Cherry Compote, it's actually the jar of Cherry conserve that you use. My apologies. Perhaps my wording is causing confusion. I'll update the recipe card to reflect this.
Marion Symons
Cannot wait to try it looks delicious I had two birthdays in the last two weeks one for the one I missed last year due to covid so I decided to have two this month !!!!!
I wish I had had this recipe then ,although I did make three of your gorgeous cake s which were enjoyed so much please continue to give us these lovely recipes Thank you . Marion
Lynn
Thank you so much Marion for your kind words.